Custom Compliance Management using vRealize Operations

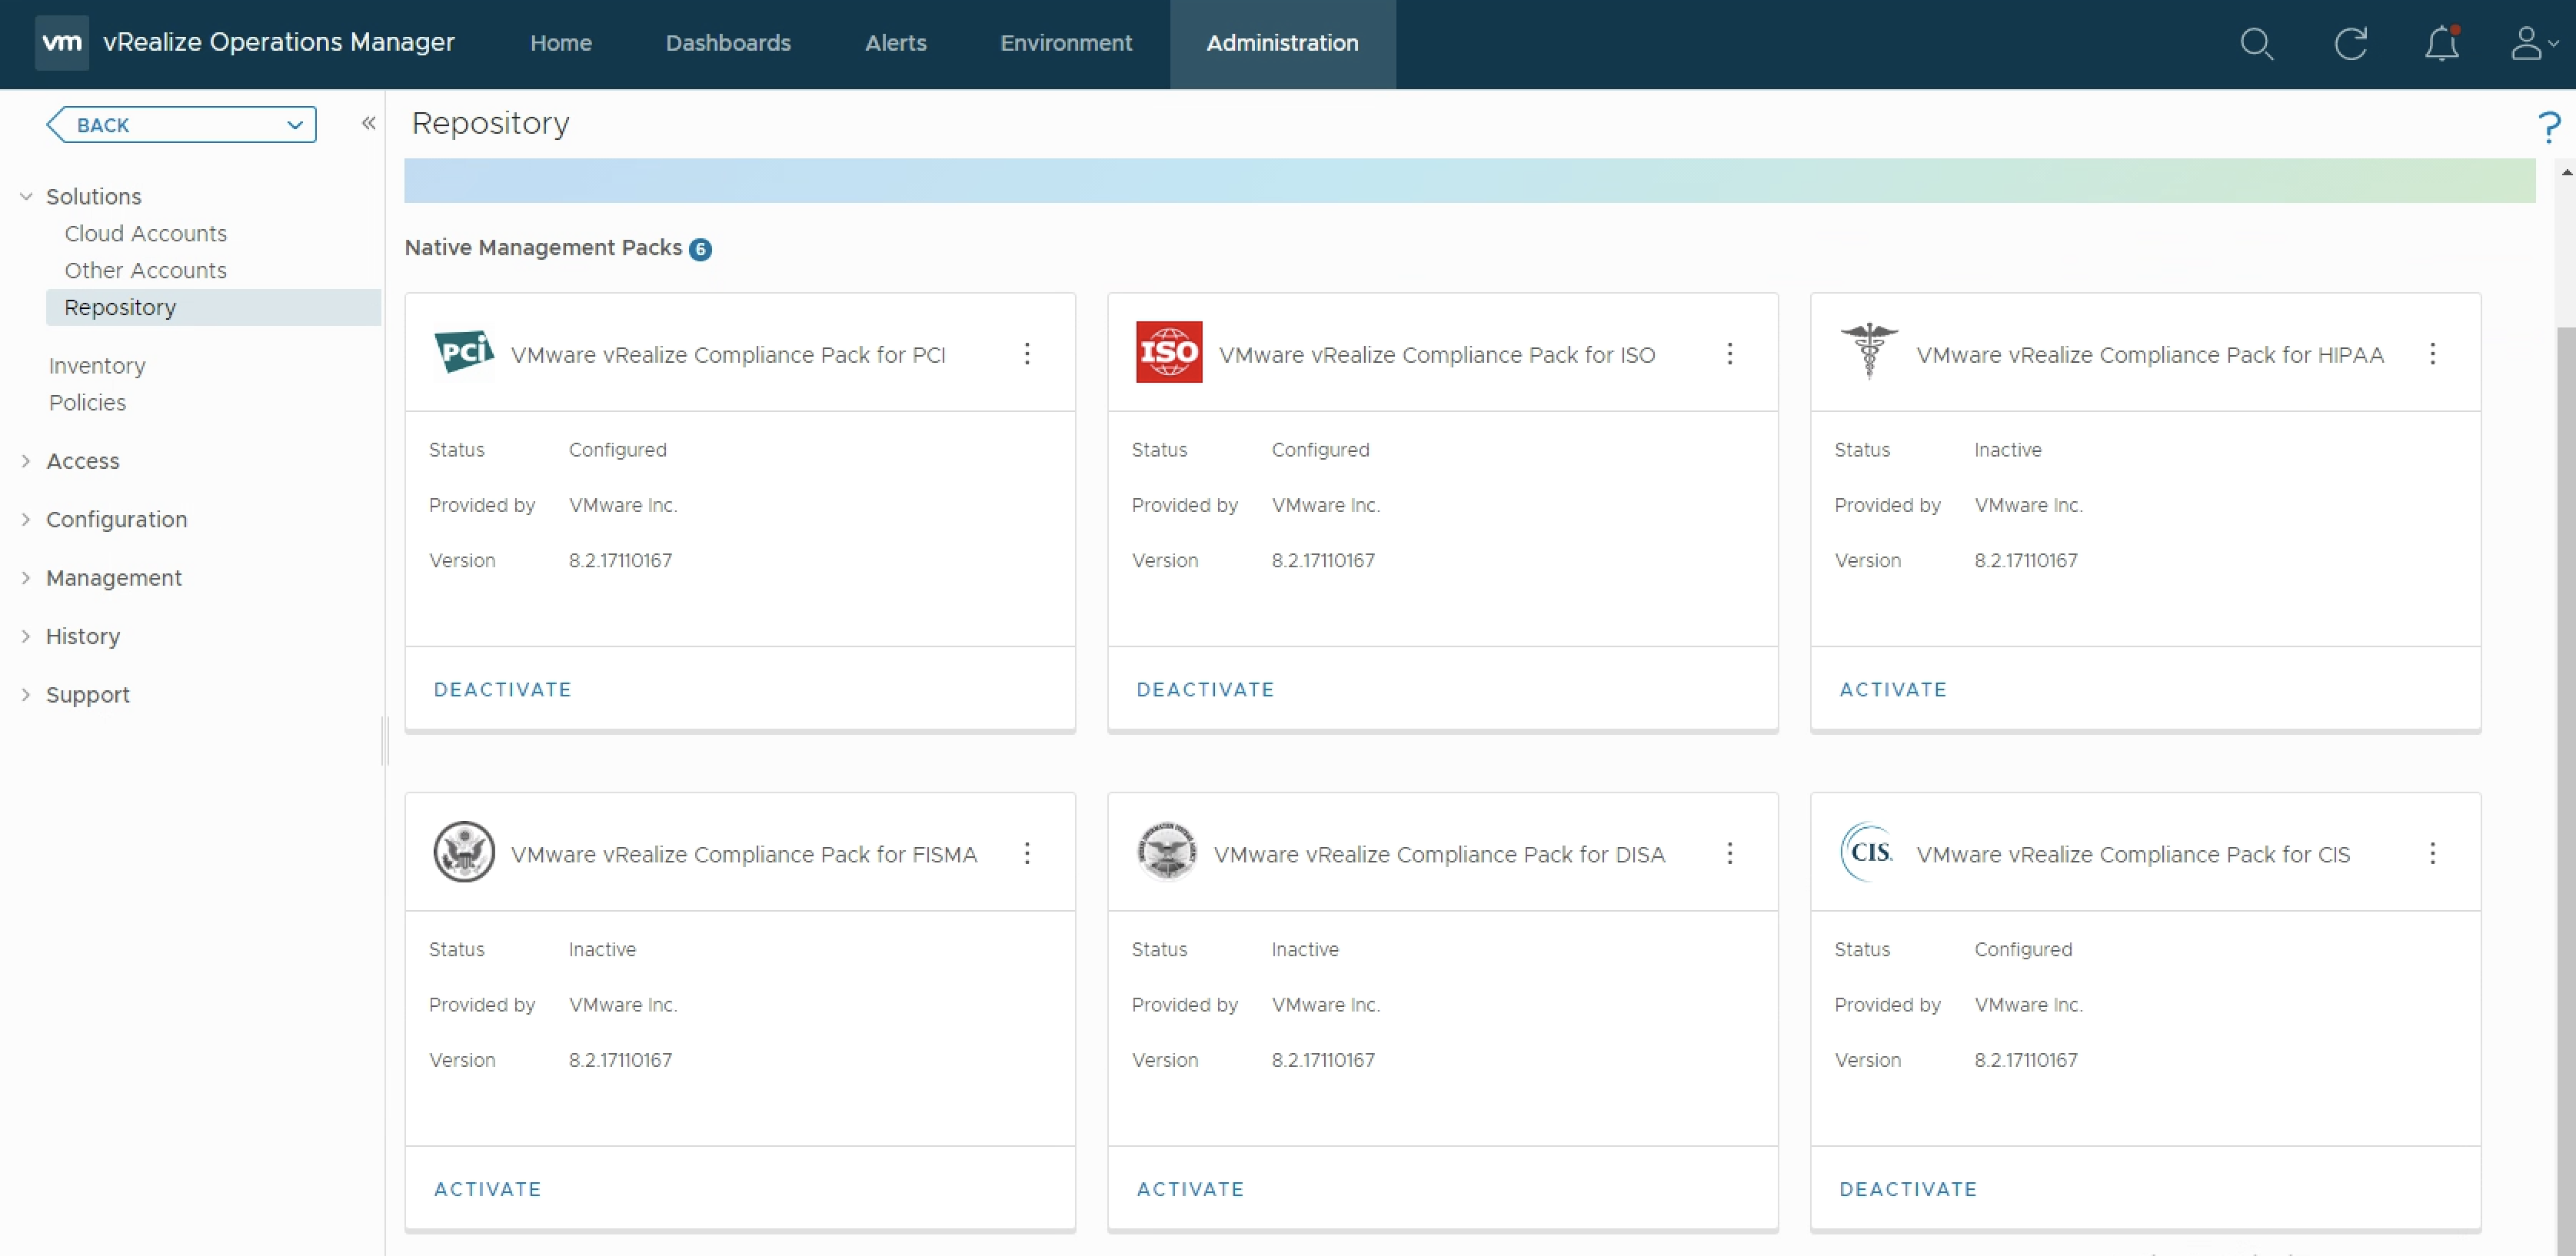
As you probably know vRealize Operations provides several Compliance Packs basically out-of-the-box (“natively”). A simple click on “ACTIVATE” in the “Repository” tab installs all needed components of the Compliance Pack and allows the corresponding regulatory benchmarks to be executed.

Regulatory benchmarks provide solutions for industry standard regulatory compliance requirements to enforce and report on the compliance of your vSphere objects. You can install compliance packs for the following regulatory standards.

In the following picture, you can see the currently available six Compliance Packs.

Figure 1: Native Compliance Packs

But what if regarding compliance you have different requirements than what is provided by the available Packs? What are the components and the method to create customized or completely new compliance benchmarks?

In this blog post, I will give you a short overview of what vRealize Operations elements comprise a Compliance Pack and how to put everything together to create your very own custom compliance benchmark.

Components of a Compliance Management Pack

The mandatory parts of a Compliance Pack which are implementing the actual checks are:

  • symptom definitions
  • alert definitions
  • policy (activates the needed metrics, properties, symptom, and alert definitions)

In addition to these components, the available Compliance Packs provide a report template that consists of views as well as recommendations which are part of the alert definitions. The following picture shows the Compliance Pack for CIS as an example.

Figure 2: Content of a Compliance Pack

The Method

The general workflow from the certain requirement, “what to check”, to the Compliance Pack is always the same. The following diagram shows the single steps. As you see, you are not limited to metrics and properties vRealize Operations provide through the various Management Packs, you can add your own custom metrics and symptoms and make them part of your custom benchmark.

Figure 3: Compliance Pack workflow

In general this is what you need to do:

  1. Find the appropriate metric or property to check a certain aspect of your custom compliance
  2. Create a symptom definition containing that metric or property
  3. Create one or multiple alert definitions (e.g. one per vROps object type) and include all previously created symptom definitions as “ANY” set of definitions
  4. Create or adjust a vROps policy to enable all needed metrics and properties (if disabled)

As always, you may review the native Compliance Packs to see some examples. In the following picture, you can see the alert definitions for different object types as defined in the Compliance Pack for CIS.

Figure 4: Alert definitions in the Compliance Pack for CIS

NOTE: It is required to set the “Alert Subtype” to “Compliance” to allow the alert definition to be part of a custom compliance benchmark.

The alert definition consists of all relevant symptom definitions for the certain object type, as shown in the next picture.

Figure 5: Alert definition example

Final Step – Custom Compliance

The last and easiest step is to add the alert definitions to the new Custom Compliance and enable the alert definitions in a vROps policy.

Figure 6: Create a new custom benchmark
Figure 7: Add alert definitions
Figure 8: Select the policy

Finally vRealize Operations will check the compliance of your environment and present the results in the compliance widget.

Figure 9: Results of a compliance check

Now, let’s go and create your own customized compliance benchmark.

Stay safe.

Thomas – https://twitter.com/ThomasKopton

Capacity Management for n+1 and n*2 Clusters using vRealize Operations

When it comes to capacity management in vSphere environments using vRealize Operations customers are frequently asking for guidelines how to setup vROps to properly manage n+1 and n*2 ESXi clusters.

Just as a short reminder, n+1 in context of a ESXi cluster means that we are tolerating (and are hopefully prepared for) the failure of exactly one host. If we need to cope with the failure of 50% of all hosts in a cluster, like two fault domains, we often use the n*2 term.

In general we have two options to make vRealize Operations aware of the failure strategy for the ESXi clusters:

  • the “out-of-the-box” and very easy approach using vSphere HA and Admission Control
  • the vROps, and almost same easy, way using vRealize Operations Policies

vSphere HA and Admission Control

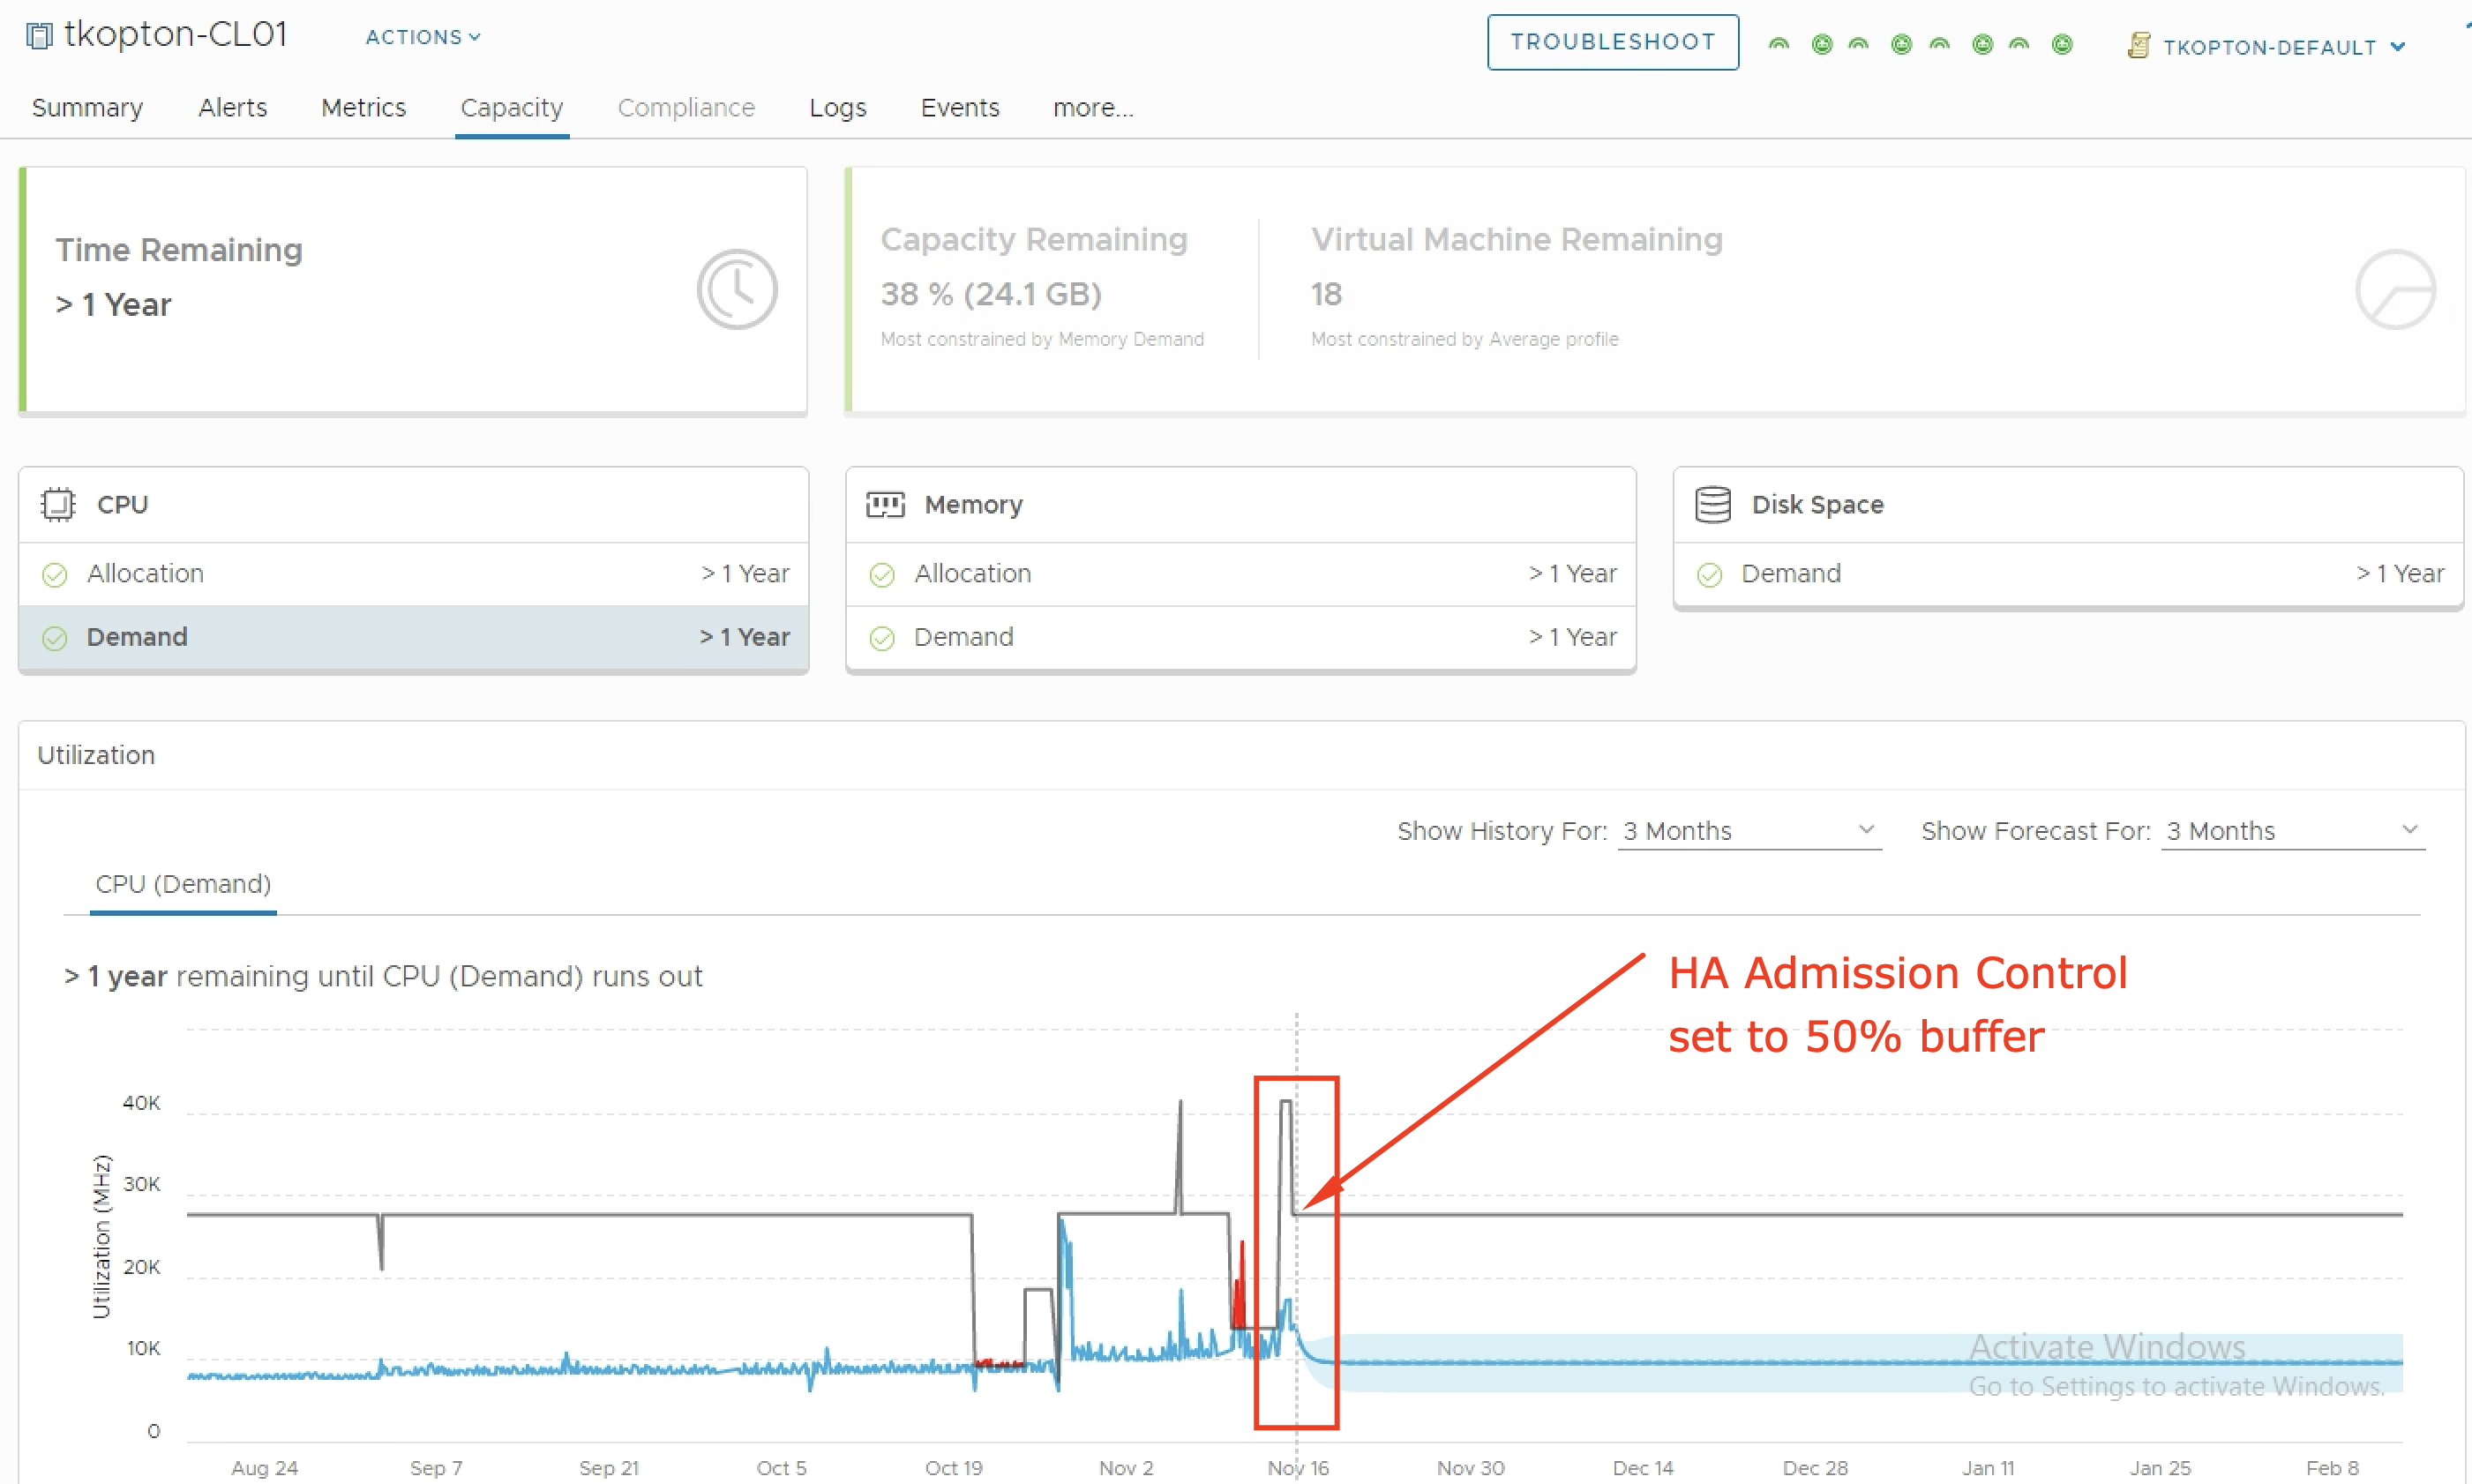
If configured Admission Control automatically calculates the reserved CPU and Memory failover capacity. In the first example my cluster is configured to tolerate failure of one host, which makes it 25% for my 4-hosts cluster.

Figure 1: vSphere and HA settings – n+1 cluster

vRealize Operations is collecting this information and accordingly calculating the remaining capacity. In the following picture you can see vROps recognizing the configured HA buffer of 25%.

Figure 2: vROps HA buffer for n+1 cluster

If we now change the Admission Control settings to n*2, in my case two ESXi host, vSphere is calculating the new required CPU and Memory buffer. We could also set the buffer manually in to 50% or whatever value is required.

Figure 3: vSphere and HA settings – n*1 cluster

After a collection cycle, vRealize Operations retrieves the new settings and starts calculating capacity related metrics using the adjusted values for available CPU and Memory capacity.

Figure 4: vROps HA – available capacity reflecting new HA settings

The “Capacity Remaining” decreases following the new available capacity and the widget shows the new buffer values in %.

Figure 5: vROps HA buffer for n*1 cluster

vRealize Operations Capacity Buffer and Policies

Sometimes the vSphere HA Admission Control is not being used and customers need another solution for their capacity management requirements.

This is where vROps Policies and Capacity Buffer settings helps manage vSphere resources.

vRealize Operations applies various settings to groups of object using vROps Policies. One section of a policy are Capacity Settings.

Figure 6: vROps Capacity Settings via Policy

Within the Capacity Settings you can define a buffer for CPU, Memory and Disk Space to reduce the available capacity of a vSphere cluster or a group of clusters. You can set the values for both capacity models, Demand and Allocation, separately.

Figure 7: vROps Capacity Settings – Buffer

In my example, I have disabled Admission Control in vCenter and set buffers in vROps.

Figure 8: vROps capacity remaining using buffer setting via policy

vRealize Operations is now using the new values for available resources to calculate cluster capacity metrics.

Btw. Custom Groups are the vROps way to group similar cluster together and treat all of them the same way.

Stay safe.

Thomas – https://twitter.com/ThomasKopton